Introduction
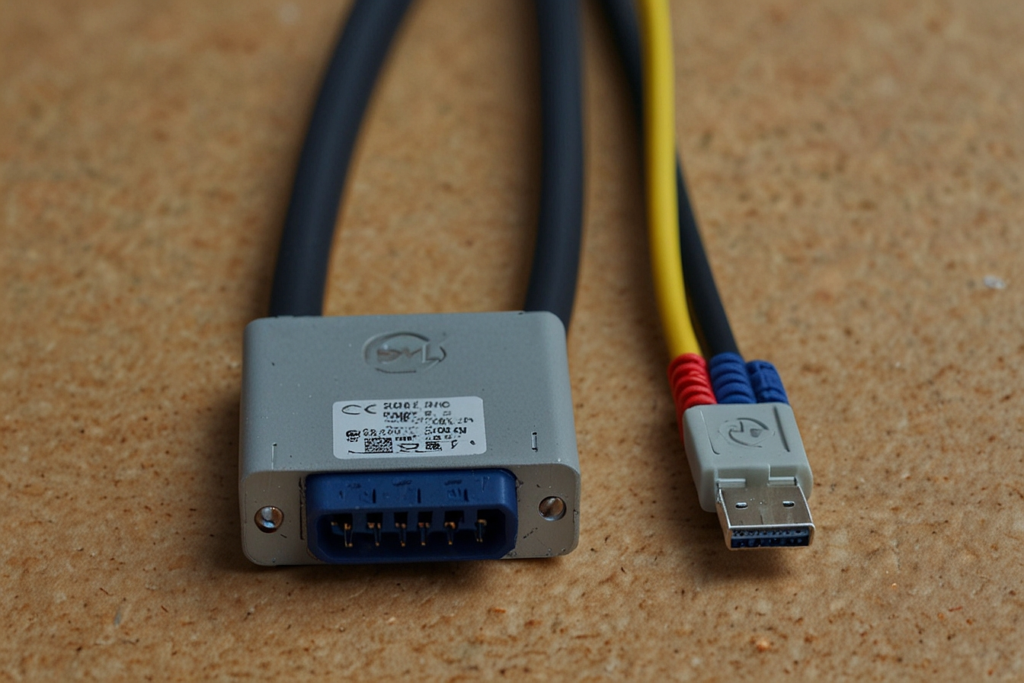
The Dell CT109 serial to PS2 cable is a niche but valuable tool for connecting devices that use different communication protocols. This type of cable is very useful when it comes to integrating old models of commodities with new systems; the performance is not compromised for compatibility. Suppose you are a tech freak, an amateur, or even a professional. In that case, this article will be quite useful as it explains in detail how a Dell CT109 serial to PS2 cable can be made and will also give you a great chance to explore the realm of custom cables and wires.
This article offers an elaborate procedure on how to make a Dell CT109 serial to PS2 cable. It details what materials will be needed, the procedures that are necessary to complete a project and why those steps are important so not only does your project turn out well, you also know why that particular step is required.
Understanding the Dell CT109 Serial to PS2 Cable
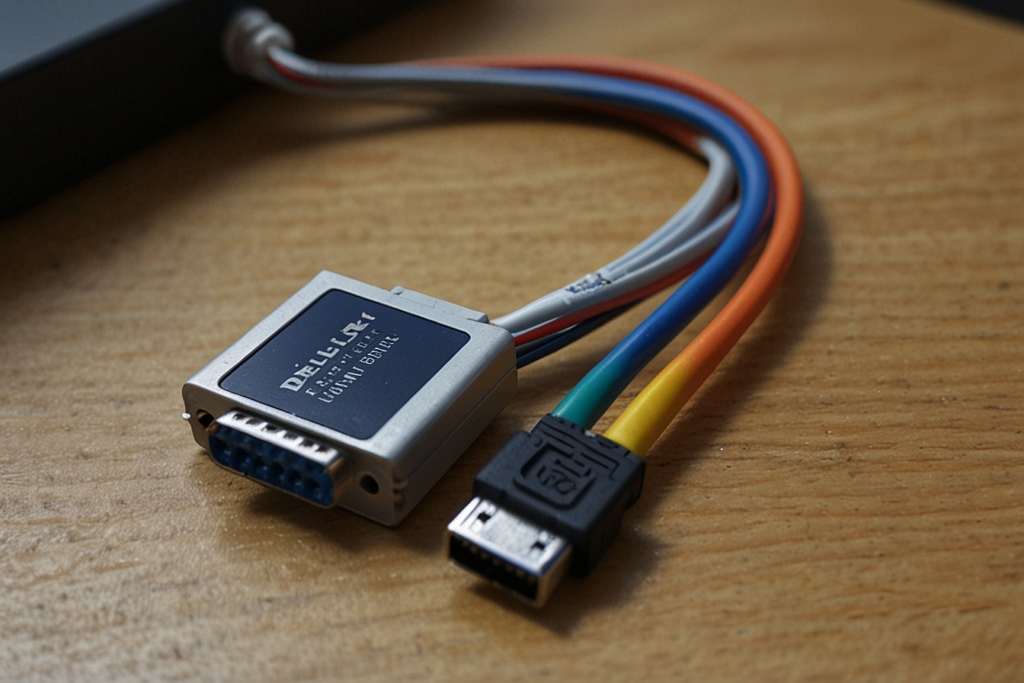
The Dell CT109 serial to PS2 cable is essentially an adapter that translates signals that are passed to and from devices that use serial ports to those that use the PS2 interfaces. Serial ports were prevalent with the initialitude of computers and peripherals While PS2 connections became a standard for keyboards and mice in and around the 1990s and early 2000s. Although USB has largely replaced both, many legacy systems still require these older interfaces to function.
This cable is most useful to those engaged in retrocomputing or companies that hold onto older machines for certain purposes. When you learn how to make your own Dell CT109 serial to PS2 cable, you save money and are able to have the cable you want.
Materials Needed
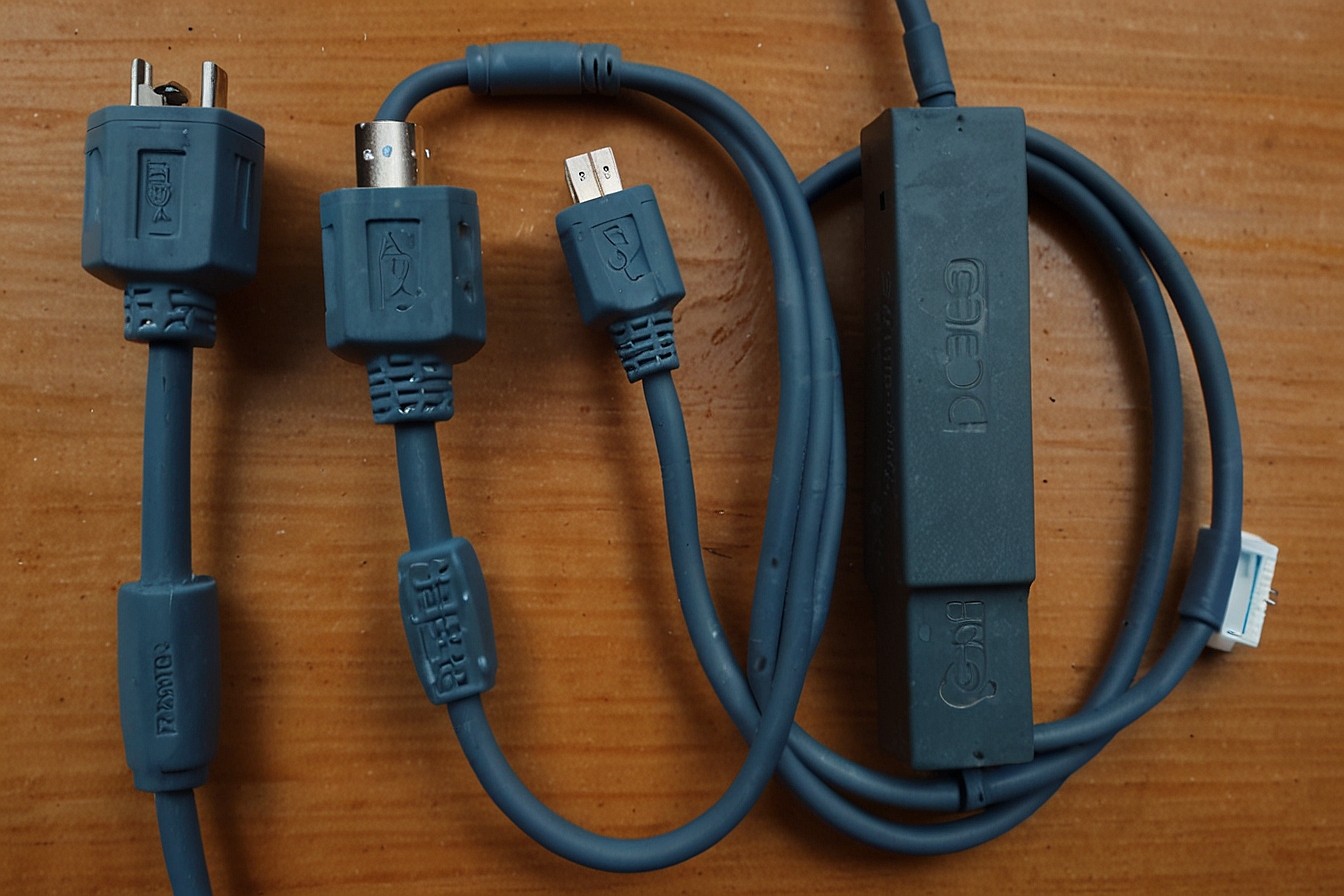
Before starting, gather the necessary materials. Here’s a list of what you’ll need to make a Dell CT109 serial to PS2 cable:
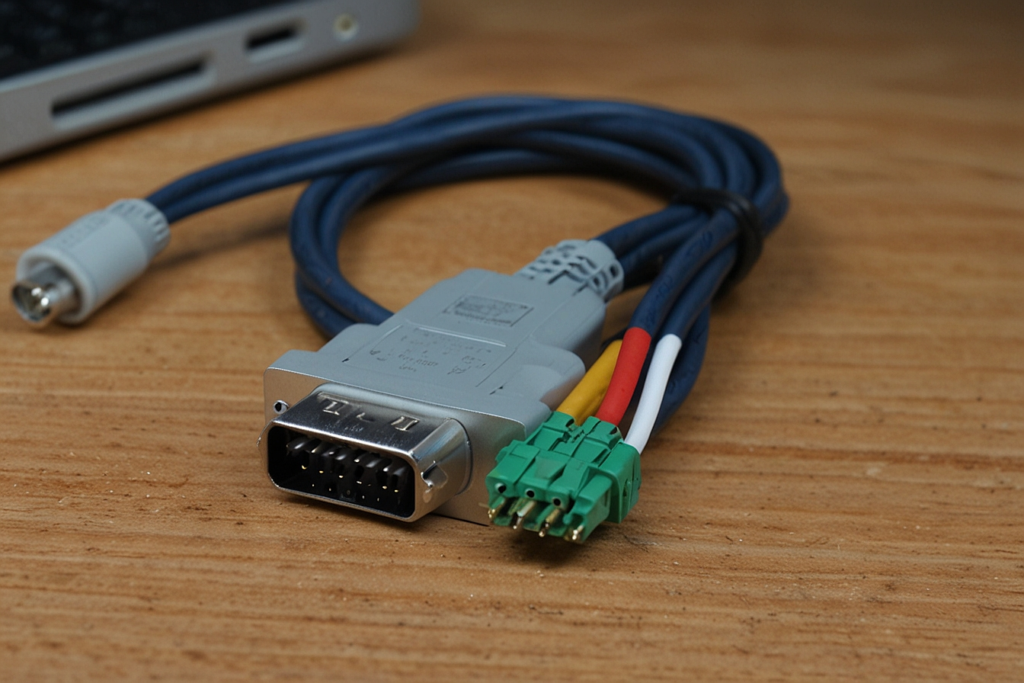
- Serial Connector (DB9 or DB25): The specific type depends on the device you’re connecting.
- PS2 Connector: Usually a mini-DIN 6-pin connector.
- Shielded Cable: Ensure it has enough conductors to accommodate the connections between the serial and PS2 ports.
- Soldering Kit: Includes a soldering iron, solder, and flux.
- Wire Stripper: For preparing the cable ends.
- Heat Shrink Tubing or Electrical Tape: To insulate and protect the connections.
- Pinout Diagrams: For both the serial and PS2 connectors.
Step-by-Step Instructions
Step 1: Study the Pinout Diagrams
One must recognize that in the diagrams of the serial and PS2 connectors. The pinout diagram shows how each pin on a connector is wired to its counterpart. The Dell CT109 serial to PS2 cable requires specific connections between these pins to ensure compatibility. For instance, the serial connector usually has two signal pins, one for the sending and the other for the receiving of data. In contrast,, the PS2 connection item has terminal pins meant for data, clock together with the power. Identify the corresponding pins for each signal to avoid errors.
Step 2: Prepare the Cable
Using the wire stripper, remove about an inch of the outer insulation from both ends of the shielded cable. Strip about 0.25 inches of insulation from each wire to expose the conductors.
Step 3: Solder the Connectors
Solder the wires to the appropriate pins on the serial and PS2 connectors. Follow the pinout diagrams meticulously to ensure correct connections. For example, connect the serial port’s data transmit pin to the PS2 data pin and the ground pin to the PS2 ground pin.
Apply flux to the pins before soldering to improve the connection quality and reduce oxidation. Use a multimeter to check for continuity after each connection, ensuring there are no shorts or open circuits.
Step 4: Insulate and Protect
After soldering, slide heat shrink tubing over each connection and use a heat source to shrink it into place. Alternatively, wrap the connections with electrical tape. This step is essential to prevent accidental shorts and ensure durability.
Step 5: Assemble the Connectors
Carefully assemble the serial and PS2 connectors, securing them with screws or clips as necessary. Ensure the wires are not pinched or stressed during assembly.
Step 6: Test the Cable
Connect the Dell CT109 serial to the PS2 cable to the devices you intend to use it with. Verify that the connection is functional by checking if the devices communicate correctly. Use diagnostic software, if available, to confirm proper data transmission.
Common Challenges and Solutions
Issue 1: Incorrect Pin Connections
Another mistake is pin assignment; you have to be very careful when pinning your memory because if you get it wrong, you will end up with a problematic memory. Compare the pinout diagrams and make a test of all interfaced connections with the help of a multimeter.
Issue 2: Weak Solder Joints
Unsatisfactory soldering causes unreliable connections. If you are using a soldering iron it is important that the soldering iron is at the correct temperature and that you use enough solder to create a good joint without the creation of shorts.
Issue 3: Interference or Noise
If you experience signal interference, ensure the cable is shielded and that the shield is connected to the ground. It minimizes electromagnetic interference (EMI).
Applications of the Dell CT109 Serial to PS2 Cable
The Dell CT109 serial to PS2 cable has a wide range of applications, including:
- Connecting Legacy Peripherals: Use older keyboards and mice with systems that lack native PS2 ports.
- Data Communication: Interface serial devices with modern PS2-compatible equipment.
- Custom Projects: Ideal for hobbyists creating unique setups requiring cross-compatibility between serial and PS2 standards.
Tips for Success
- Work in a Well-Ventilated Area: Soldering can release harmful fumes if inhaled.
- Label Wires: If the cable has multiple conductors, label them to avoid confusion during assembly.
- Use Quality Components: High-quality connectors and cables ensure better performance and durability.
Benefits of Making Your Own Dell CT109 Serial to PS2 Cable
Creating your own Dell CT109 serial to PS2 cable has several advantages:
- Cost-Effective: Building the cable yourself is often cheaper than purchasing a pre-made one.
- Customization: Tailor the cable’s length and specifications to your exact needs.
- Skill Development: Gain valuable skills in soldering, wiring, and troubleshooting.
Conclusion
Constructing the Dell CT109 serial to PS2 cable is fulfilling as this creation compensates for the present complexity left by construction technology. By following this guide you will learn how to develop a good and practical cable, which will correspond to your expectations. No matter whether you are learning how to maintain old-school systems or creating over-the-shelf unique configurations, it refines the set of tools you have.
By doing your research, paying attention to the numerous details, and always being ready to further your knowledge, you will not only learn how to create the Dell CT109 serial to PS2 cable successfully but also learn about electronic interfacing. Don’t be afraid of the cliché, and consider it a bonus you get to design something completely on your own.